Create advertising campaigns at the touch of a button
Introduction
In the digital world, an online presence is essential for companies. But effective marketing can quickly become expensive, especially when experienced professionals are needed. Even experienced marketers need time to design a campaign. As artificial intelligence is increasingly being used for precisely such time and money-intensive tasks, we wanted to create an approach for this area with our project.
Motivation
The subject of marketing can quickly become very complex and requires a creative, trained eye to understand the concepts behind successful marketing campaigns. Our aim was to develop a tool that would enable anyone - whether a marketing specialist or a non-specialist student - to create ideas and concepts for a meaningful, well thought-out advertising campaign.
Since LLMs (Large Language Models) prove to be very capable in pattern recognition, the aim of our project was to use well-developed prompts in combination with a powerful LLM to automatically create advertising campaigns. The LLM was to analyze the well-functioning components of existing advertising campaigns and create new concepts adapted to the user's individual projects on this basis.
The user should need as little specialist knowledge as possible and only have a rough idea of what they want.
Implementation/technical structure of the project
The implementation basically consists of three components that interact with each other via asynchronous queues: a front end, a backend and a database.
Frontend
The frontend was implemented in HTML, CSS and JavaScript, as it did not have to meet any major or complex requirements. Its main purpose is to capture simple entries in text fields and send them to the backend. It also had to be able to receive and display the output from the backend.
Backend
aiohttp server
This server provides API interfaces for the front end and manages the inputs and outputs of the respective agents. It enables uniquely assignable sessions via WebSockets, allowing multiple users to use the tool independently of each other without overlapping or confusing the agents.
Python agent assignment script
This script waits for data in the frontend backend queue. Depending on the information passed, it inserts the parameters in the queue into the appropriate prompt and assigns them to the corresponding AI agent. As soon as the agent has generated a response, it is sent back via the backend frontend queue.
PostgreSQL
The database stores a table containing the name of the agent, the input prompt and the corresponding response from the agent. This allows all inputs and outputs to be recorded and reused or analyzed later. This data makes it possible to check the prompts used after a certain period of use of the tool and adjust them if necessary.
Queues
Three asynchronous queues were used to enable seamless asynchronous communication between the front end, back end and database:
- queue_frontend_backend => communication of the server with the agent program
- queue_backend_frontend => responses from the agents to the server
- DB_Queue => Saving the agent communication in the database
By using queues, the tool can handle an unlimited number of inputs/outputs, which are processed asynchronously and do not generate any unnecessary redundancy times via queues. Thanks to the session IDs generated in the server, the tool is still able to process the various requests correctly and assign them to the correct recipient.
TLDR:
- frontend: The frontend consists of HTML, CSS and JavaScript and is used to collect project-specific information.
- backend: The backend is based on a Python aiohttp server that works in combination with AI agents on the AutoGen framework. It receives the information from the frontend, sends it to the AI agents for processing and transmits the generated responses back to the frontend.
- database: A PostgreSQL database stores the prompts and responses of the agents in order to persist them for later analysis.
Test run of a theoretical university campaign
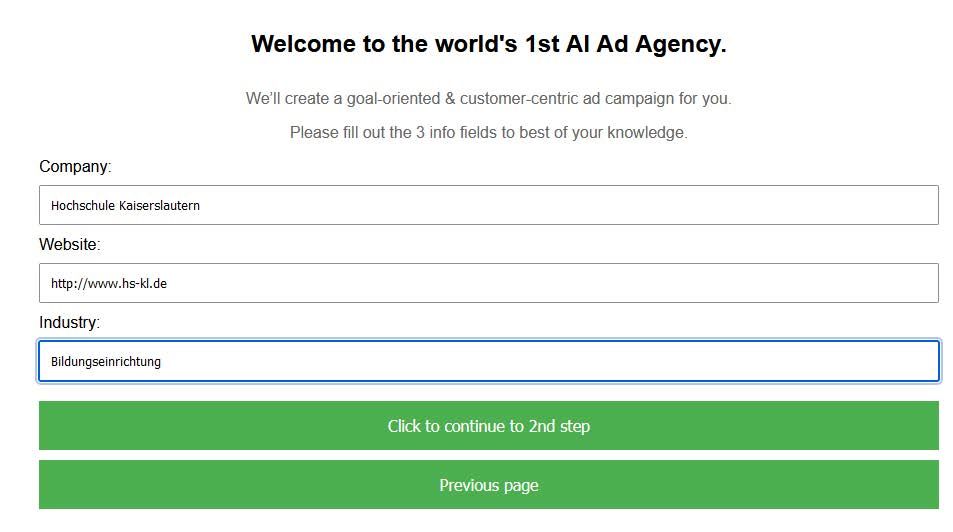
Step 1: Market research
In the first step of the program, the user must enter the company name, the company website and the company's industry. Based on these entries, the market research agent is triggered, which uses the data provided to work out useful information about the company, such as its history, possible competitors, strengths, weaknesses and opportunities.
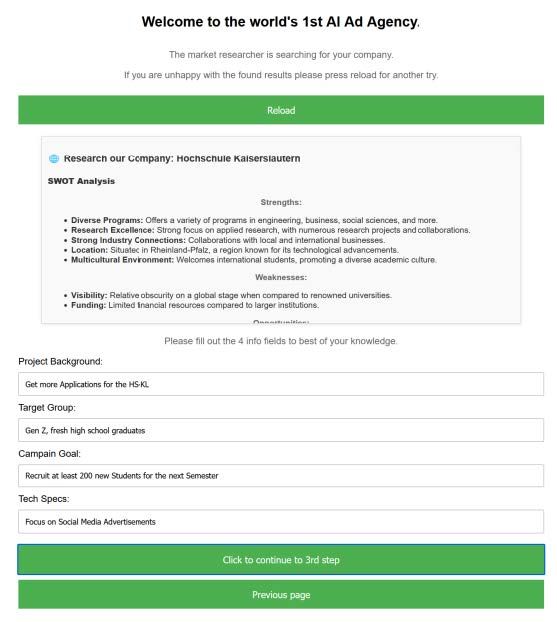
Step 2: Defining the campaign parameters
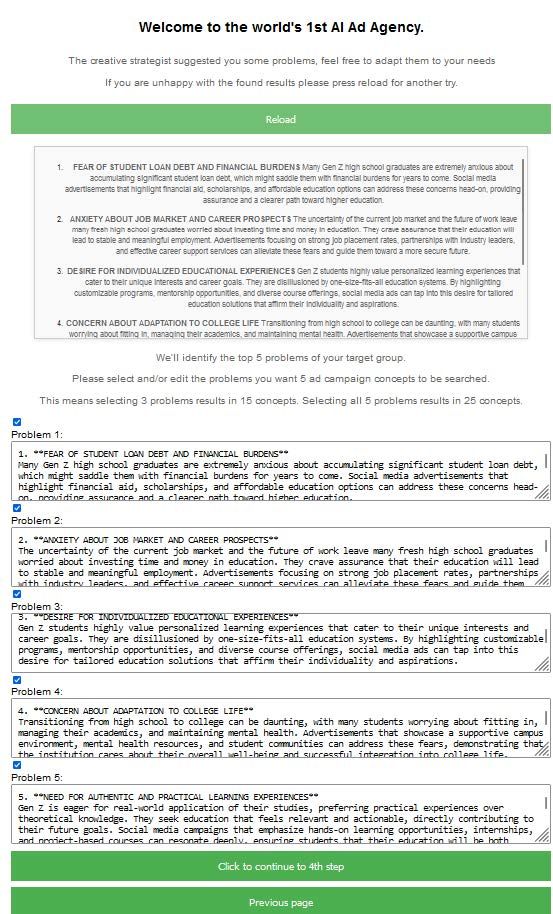
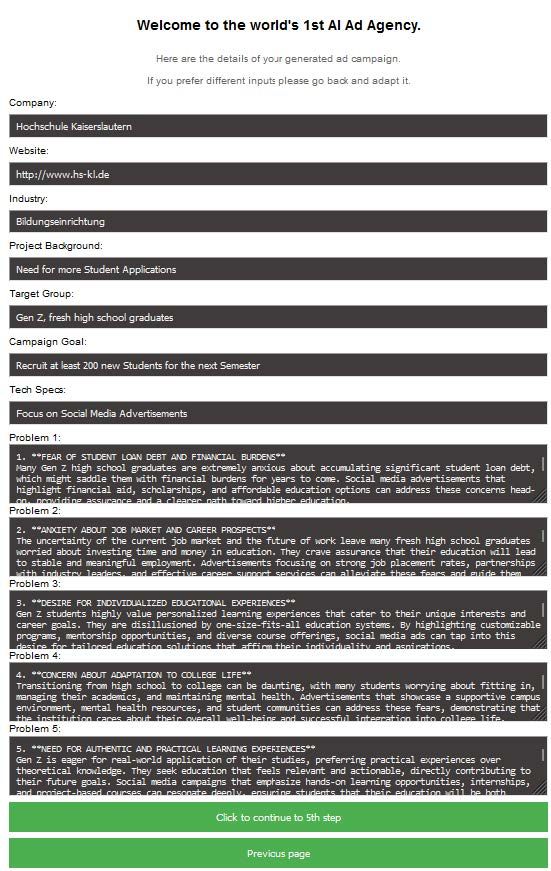
In the second step, the information compiled by the market research agent is displayed so that the user can use it for their further entries. Using this information, the user must now specify the project background, i.e. why a campaign is needed. In addition, information about the target group to be reached with the campaign and a specific goal that the campaign should achieve are defined. Finally, the user only needs to specify which technical data/paths should be relevant for this campaign. Based on this information, the creative strategist agent generates 5 pain points for the specified target group.
Step 3: Working out the Target Group Problems
Step 4: Creative Director
As the creative director agent requires all previous information, the user is navigated to an overview of all their entries before starting the process. Here they can check whether all the parameters they have entered correspond to their expectations.
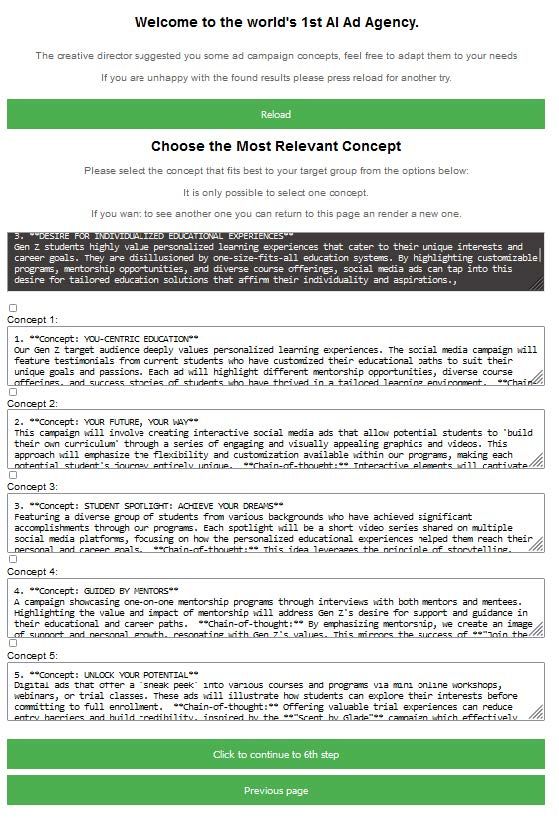
As soon as the creative director has finished loading, the user has a choice of 5 campaign concepts per selected pain point. From these, he can then decide on a campaign concept for which he would like to have a visual concept created. These concepts can be adapted as required and can also be replaced by a concept of their own.
Step 5: Creating an art style from the campaign concept
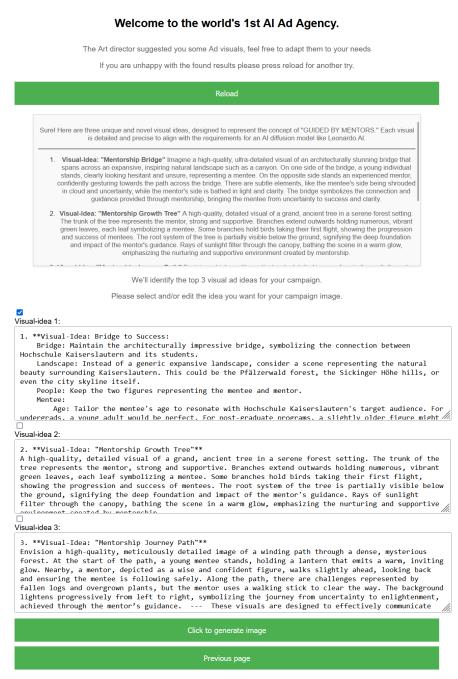
The art director agent generates 3 graphic concepts from the campaign concept defined by the user, which should combine the desired advertising objective with a graphic. From these, he can select a concept from which he would like to have image ideas generated. He can also adapt these concepts as required or replace them completely with his own ideas.
Step 6: Transforming the art concept into a picture
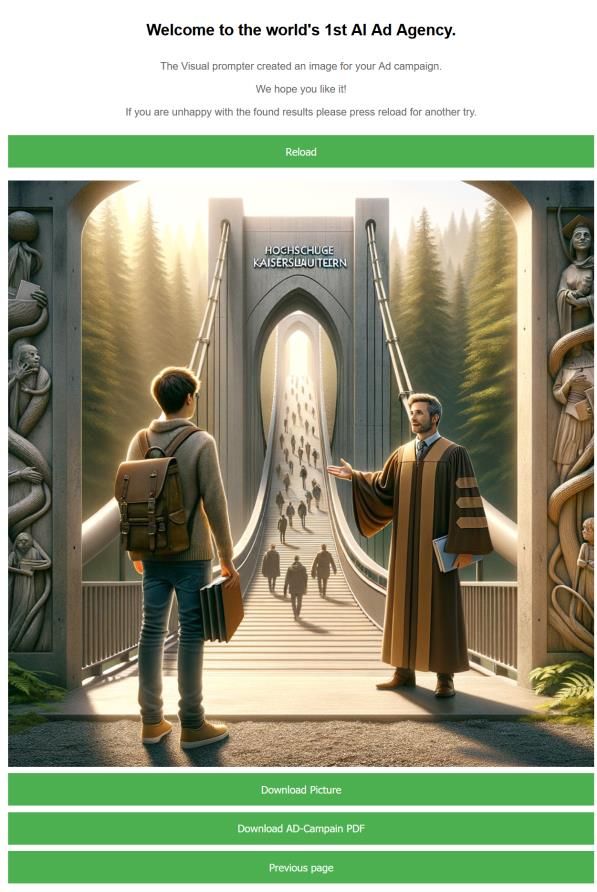
In the last active step, the user can customize an image concept selected by the art director. The Visual Prompter Agent takes this image concept and generates a graphic prompt for Dall-E-3 and executes it.
Step 7: Advertising image + campaign data
The image generated by the Dall-E-3 prompt executed by the Visual Prompter Agent is displayed in the last screen after a short loading time. If the user is not satisfied with the image, they can generate a new image or adjust the image concept by navigating backwards.
If only the information collected by the agents is relevant for the user, he can download a PDF with all the information compiled by the agents at the touch of a button.
Conclusion
The tool developed by the project is a useful approach for generating initial concepts for a required advertising campaign. Thanks to the various agents working together, it is possible to pass on all relevant information about the various steps and thus enrich the agents' output. The resulting image is of course not a perfect marketing poster or similar, but the generated image can be used for an Instagram photo, for example, or as a style guide for the final campaign.
Much more important is the information about the company, target group, strengths/weaknesses of the company, etc. that the agents have worked out and which is ultimately created as a PDF. These provide a generous basis for developing and perfecting the advertising campaign. In addition, the different agents create a wide variety of perspectives on the campaign, which means that the overall output is very diverse.
